✨ An American Hearth: The Enduring Romance of Banana Bread
There are certain aromas that transcend mere scent to become a form of culinary time travel. For me, and for so many of us, the fragrance of banana bread baking is one such portal. It is the scent of a slow Sunday morning, of rain pattering against windowpanes, of a kitchen that is not just a room for cooking but the very heart of the home. This humble loaf, born from the resourcefulness of the American Great Depression, is a testament to the idea that true elegance often lies in simplicity. It’s a dish that asks for so little—just a few languishing, spotty bananas and pantry staples—yet gives back so much in return.
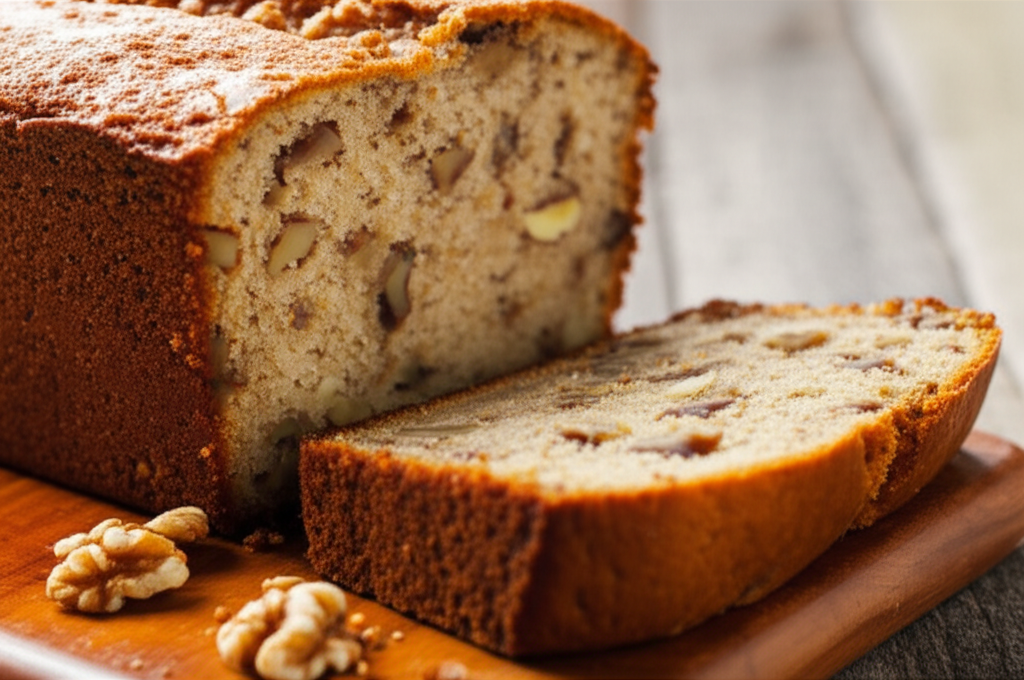
The beauty of banana bread is its profound yet approachable flavor profile. It is a symphony of comfort. The deep, caramelized sweetness of the overripe bananas forms the soulful base, a flavor that speaks of patience and transformation. This is complemented by the subtle, molasses-rich warmth of brown sugar and a whisper of fragrant vanilla. A touch of spice, perhaps cinnamon or nutmeg, weaves through the crumb, adding a layer of sophisticated warmth. The experience is not just about taste, but texture. The satisfying crackle of the golden-brown crust gives way to a miraculously moist, tender interior. It’s a texture that feels both rustic and refined. This is not a pastry to be admired from afar; it is a loaf to be sliced thickly, perhaps while still faintly warm, and savored with a cup of freshly brewed coffee or a delicate black tea. It is a quiet luxury, a nourishing pause in a busy world, and a beautiful reminder that the most memorable meals are often the ones that feed our souls as much as our bodies.
🛒 Ingredients
- Overripe Bananas: 3 large (about 1 ½ cups), heavily speckled or blackened for maximum sweetness.
- All-Purpose Flour: 1 ¾ cups (210g), spooned and leveled. For a nuttier, more fibrous crumb, substitute half with whole wheat pastry flour.
- Baking Soda: 1 teaspoon.
- Fine Sea Salt: ½ teaspoon.
- Ground Cinnamon: 1 teaspoon. Optional gourmet addition: ¼ teaspoon freshly grated nutmeg or cardamom.
- Unsalted Butter: ½ cup (113g), melted and slightly cooled. For an unbelievably rich, nutty flavor, use browned butter (see instructions).
- Light Brown Sugar: ¾ cup (150g), packed. Muscovado sugar can be used for a deeper molasses note.
- Large Eggs: 2, at room temperature.
- Full-Fat Greek Yogurt: ¼ cup (60g), at room temperature. Sour cream is an excellent alternative.
- Pure Vanilla Extract: 1 teaspoon. Consider 1/2 teaspoon of vanilla bean paste for a more pronounced, visually appealing flavor.
- Toasted Walnuts or Pecans: ¾ cup, coarsely chopped (optional).
A word on our key players:
1. Overripe Bananas: This is non-negotiable. As a banana ripens, its starches convert into simple sugars, making it exponentially sweeter and more aromatic. The fruit’s structure also breaks down, which contributes essential moisture to the batter, resulting in a tender, never-dry loaf. Do not be tempted by yellow bananas with a hint of green; patience is your greatest tool here.
2. Greek Yogurt: While many recipes call for milk or buttermilk, I find that full-fat Greek yogurt provides the perfect trifecta of benefits. Its acidity reacts with the baking soda to create a beautiful lift and a tender crumb. Its fat content adds richness and moisture. Finally, it imparts a subtle, sophisticated tang that masterfully balances the sweetness of the bananas and sugar.
3. Melted (or Browned) Butter: Using melted butter, as opposed to creamed butter, coats the flour proteins in a way that inhibits gluten development, guaranteeing a tender, cake-like texture rather than a chewy, bread-like one. For a truly next-level experience, I implore you to try browning the butter. The process toasts the milk solids, creating an intoxicatingly nutty, caramel-like aroma and flavor that elevates the entire loaf from a simple quick bread to a gourmet creation.
👨🍳 Instructions
-
Step 1: The Mise en Place and Foundation
A chef’s first principle is preparation. Begin by preheating your oven to 350°F (175°C) with the rack positioned in the center. This ensures even heat circulation. Prepare a 9×5-inch loaf pan by generously coating it with butter, then lightly dusting it with flour. Tap out any excess flour; this creates a non-stick barrier that also contributes to a delicate outer crust. If you are browning your butter, do this first: melt the butter in a light-colored saucepan over medium heat. It will foam, then sizzle. Swirl the pan continuously until the milk solids at the bottom turn a deep amber brown and it smells intensely nutty. Immediately pour it into a heatproof bowl to stop the cooking process and let it cool slightly. In a medium bowl, sift together the flour, baking soda, salt, and cinnamon. Sifting is not a fussy, outdated step; it aerates the flour and ensures the leavening agent is perfectly distributed, preventing dense spots or pockets of bitterness. -
Step 2: Building the Flavor Base
In a large mixing bowl, place your overripe bananas. Using a fork or a potato masher, mash them until they reach your desired consistency. I prefer a “rustic mash,” with a few small, pea-sized lumps remaining. These tiny pockets of banana will caramelize during baking, creating beautiful little bursts of flavor. Avoid turning it into a completely uniform purée. To the mashed bananas, add the slightly cooled melted (or browned) butter, the packed brown sugar, the room-temperature eggs, Greek yogurt, and vanilla. Whisk everything together vigorously until the mixture is homogenous and emulsified. The sugar should be mostly dissolved, and the mixture will look glossy and cohesive. Bringing your eggs and yogurt to room temperature is critical for a smooth, stable emulsion that traps air effectively, leading to a lighter final product. -
Step 3: The Gentle Amalgamation
Now, we introduce the dry to the wet. Pour the sifted dry ingredients into the bowl with the wet ingredients. Using a rubber spatula, begin to fold the ingredients together—not stir. A fold is a deliberate “down-across-up-and-over” motion, rotating the bowl as you go. This technique gently combines the ingredients while minimizing gluten development. Over-mixing is the cardinal sin of quick breads; it develops the gluten in the flour, resulting in a tough, dense, and rubbery loaf. Mix only until the last streaks of flour have just disappeared. If you are adding walnuts or pecans, fold them in now, stopping after just a few turns. -
Step 4: The Bake and Transformation
Gently pour the batter into your prepared loaf pan and smooth the top with your spatula. For a professional-looking finish, you can sprinkle the top with a tablespoon of turbinado sugar for a glistening, crunchy crust. Place the pan in the center of your preheated oven. Bake for 55 to 65 minutes. The exact time will depend on your oven’s temperament. At around the 50-minute mark, begin checking for doneness. A wooden skewer or toothpick inserted into the center of the loaf should come out clean, or with a few moist crumbs attached (but no wet batter). The top should be a deep, golden brown and feel firm to the touch. If you find the top is browning too quickly before the center is cooked, you can loosely tent it with a piece of aluminum foil for the final 10-15 minutes of baking. -
Step 5: The Crucial Rest and Presentation
Once baked, remove the loaf pan from the oven and place it on a wire cooling rack. This is a moment of patience. Allow the bread to cool in the pan for at least 15-20 minutes. This step is vital; it allows the crumb to set, preventing the loaf from collapsing or becoming gummy when you try to remove it. After the initial cooling period, carefully run a thin knife around the edges and invert the loaf onto the wire rack to cool completely. Allowing air to circulate all around the loaf prevents a soggy bottom. For the cleanest slices, wait until the bread is at room temperature and use a long, serrated knife in a gentle sawing motion. Serve as is, or elevate a slice with a smear of cultured butter, a dollop of crème fraîche, or a drizzle of local honey.
🧪 Nutritional Analysis
Approximate values per slice (assuming 12 slices per loaf):
- Calories: 245 kcal
- Protein: 4g
- Carbohydrates: 38g
- Fat: 9g (Saturated: 5g)
- Fiber: 2g
- Sugar: 21g
- Sodium: 220mg
Dietary Fit: This recipe is vegetarian. It can easily be adapted for a gluten-free diet by using a high-quality, cup-for-cup gluten-free flour blend. For a dairy-free version, use a neutral oil like avocado oil instead of butter and a plant-based yogurt.
💚 Health Benefits
- Sustained Energy from Bananas: Beyond their sweetness, bananas provide complex carbohydrates and natural sugars, offering a source of sustained energy without the sharp spike of refined sugars. They are also famous for their potassium content, which is crucial for maintaining proper heart function and blood pressure.
- Brain Health from Walnuts: Walnuts are a powerhouse of alpha-linolenic acid (ALA), a plant-based omega-3 fatty acid. This essential fat supports cognitive function, memory, and possesses potent anti-inflammatory properties that protect brain health.
- Gut Support from Greek Yogurt: The live and active cultures in Greek yogurt introduce beneficial probiotics to your digestive system, supporting a healthy gut microbiome which is linked to improved digestion, immunity, and even mood.
- Antioxidant Properties of Cinnamon: This warming spice is loaded with powerful antioxidants, such as polyphenols, which help protect your body from oxidative damage caused by free radicals. Some studies suggest cinnamon may also help improve insulin sensitivity.
- Mood-Boosting Potential: Bananas contain tryptophan, an amino acid that the body converts into serotonin—the “feel-good” neurotransmitter. While not a cure-all, incorporating tryptophan-rich foods can contribute to overall mood regulation and well-being.
- Muscle and Cell Repair from Eggs: Eggs provide a complete protein profile, meaning they contain all nine essential amino acids necessary for building and repairing tissues, as well as choline, a vital nutrient for brain development and cellular communication.
🌟 Final Thoughts from Chef Adam Jorive
In the world of haute cuisine, we often chase complexity, layering dozens of components to create a single, breathtaking bite. Yet, there is a profound and moving beauty in a dish like banana bread—a dish that has no pretense. It is honest. Its greatness comes not from esoteric ingredients or complicated techniques, but from intention. It’s about the mindful act of transforming something humble and overlooked—a browning banana—into an object of comfort and delight.
I encourage you to view this recipe not as a rigid set of rules, but as a blueprint for your own creativity. Infuse it with your story. Perhaps you’ll fold in shards of dark chocolate, a splash of dark rum, or the zest of an orange. Maybe you’ll add a swirl of cream cheese filling or top it with caramelized banana slices. The kitchen should be a place of play and discovery. This banana bread, in its perfect balance of nostalgic comfort, nourishing ingredients, and aesthetic simplicity, is a beautiful reminder that the best food is that which is made with love, shared with joy, and savored with gratitude. It is wellness you can taste.